How to use the getDimensions() and getDimensionProperties() API’s with SAP Analytics Designer.
getDimensionProperties() Returns all available dimension properties of the specified dimension of a data source. Only supported on data sources from table widgets. Mandatory parameter is dimension name.
In this blog we will be sharing an example use case for the getDimensions() and getDimensionProperties() API’s with SAP Analytics Designer.
Example from EPM Report Developer Analytics Application
We are sharing an example from our EPM Report Developer Analytics Application with SAP Analytics Designer. We used the APIs in two different ways.
First, we retrieved the dimensions and dimension properties from the table widget.
Then, in our example, we applied the same code through a script object to filter properties of eight dimensions, further expanding the functionality of the EPM Report Developer Analytics Application.
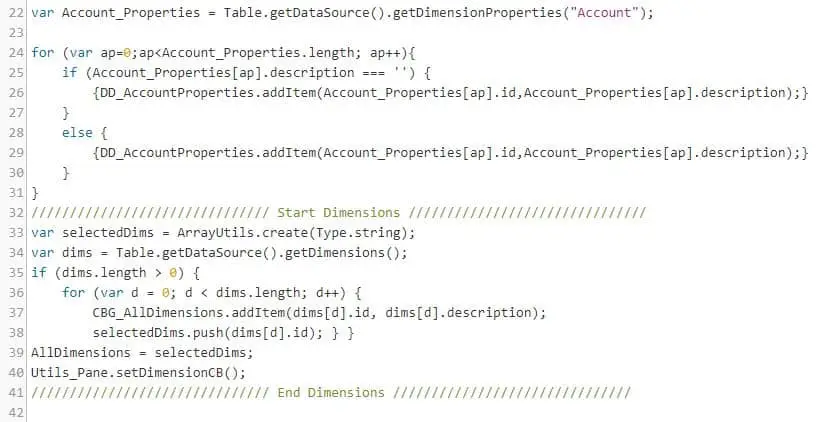
Using the getDimensions() and getDimensionProperties() API’s with SAP Analytics Designer on the table widget. This code will read all the dimensions added to the table on rows, columns and filters, and fetches the properties as well.
Filtering Dimensions with Script Variables
The second example makes life easy, we created Script Variables for all the dimensions we want to filter via property on. A dropdown for each, and a filter button that opens up a popup allowing the user to select any property from the selected dimension. Then used the getDimensionProperty() API in a Script Object that applies the request to the selected dimension depending on which dimension filter button was clicked.
Creating the Popup
We start by creating a single popup for all dimension filter buttons. Place a dropdown widget inside the popup, call it DD_DimensionProperties, and add the appropriate onSelect code.
We have covered the hierarchy and add dimensions to columns/rows dropdowns in two other blogs.
In this blog we will cover the Filter criteria dropdown which will filter the dimensions according to property values.
Create a new popup, add the following code to its fx
Place a dropdown widget into the popup, call it DD_DimensionProperties and add the below code to its onSelect fx.
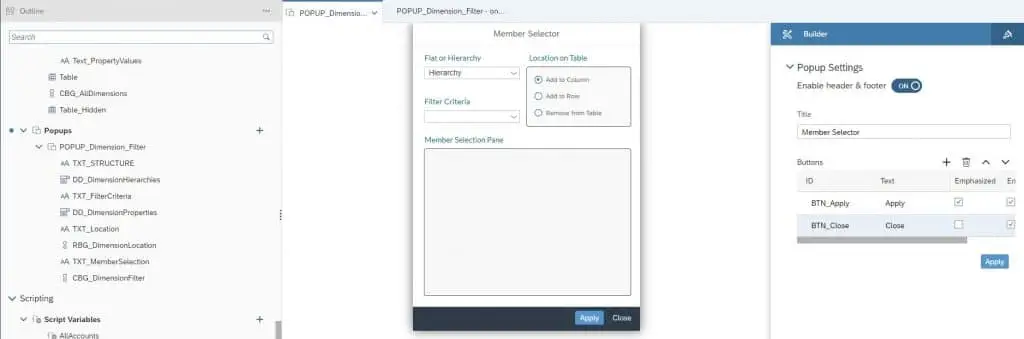
We added a Checkbox Group in the popup pane add a title above it “Member selection Pane” as shown in the image titled “Dimensions Hierarchy, property and column/row selector”, this Checkbox will be populated with the selected dimension properties when the filter button of that dimension was clicked and a property was selected from the DD_DimensionProperties dropdown.
Script Variables Setup
Create Script Variables for all the dimensions we need to filter properties on. In our case we created Script Variables for Entity, Account, Audit Trail, Currency, Flow, Interco, Scope and Version.
The measure Script Variable is used for another functionality that we will discuss in a separate blog.
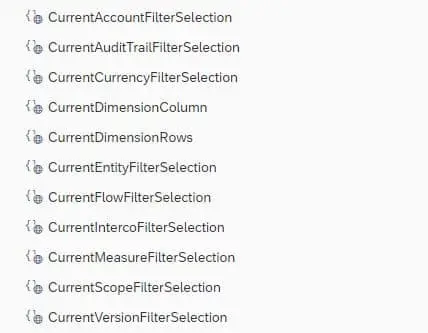
Note: we will only be sharing the details of the Entity dimension in each step; users can apply the exact same steps for all the other dimensions.
Default Values for Script Variables
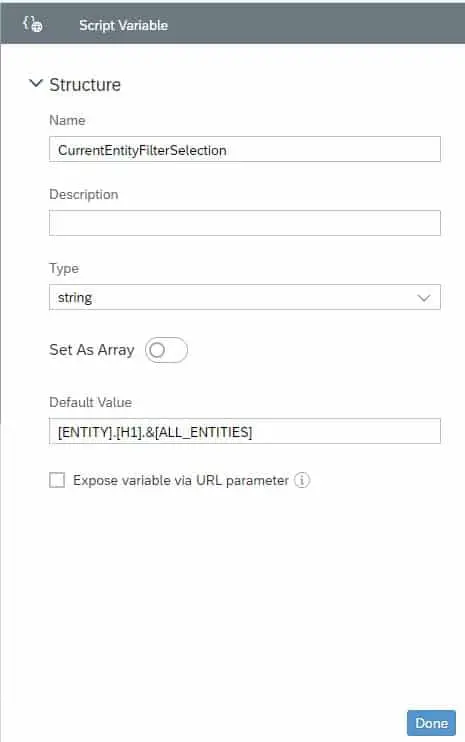
In the below snippet, you can see the name of the entities Script Variable is “CurrentEntityFilterSelection”, with a type string, and a default value of the account we want to have populated before any filtering is applied.
- Flow’s default value is: [FLOW].[H1].&[F99].
- Account’s default value is: [Account].[parentId].&[TBS].
- Audit Trail’s default value is: [AUDIT_TRAIL].[H1].&[ALL_AUDITID], etc…
Linking Dropdowns and Filter Buttons
Creating the dimensions dropdowns and filter buttons that we will later link to the Script Objects so the order is passed to the table widget. We will show in details the steps for the Entity dropdown and filter button as we noted earlier, users can follow the same steps for all other dimensions.

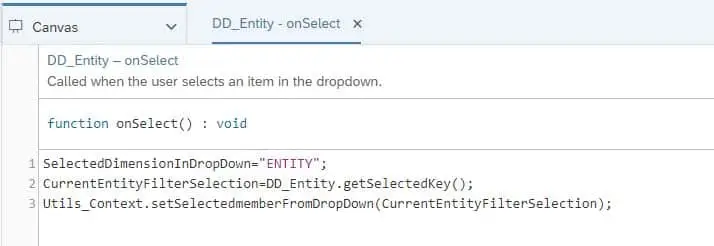
Configure the Entity dropdown with the following onSelect fx code.
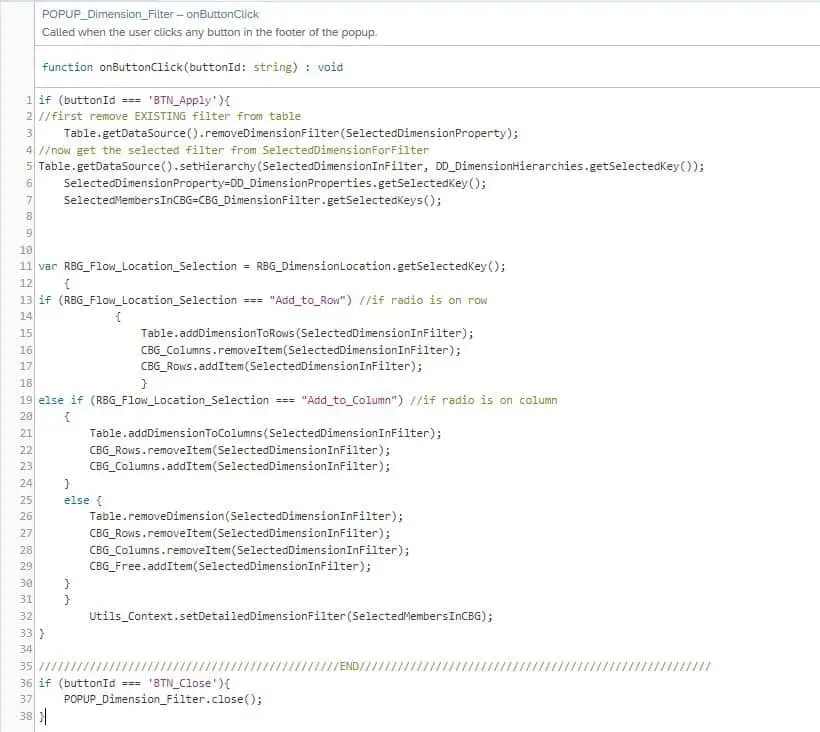
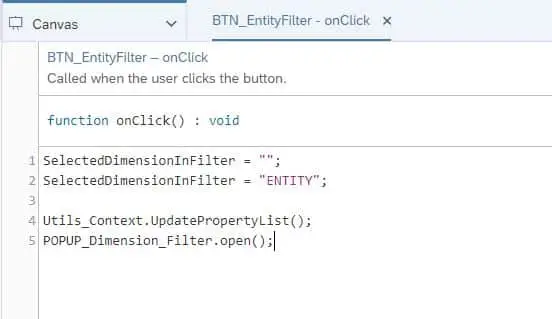
Use the onClick fx code to apply the selected Entity filter to the table widget.
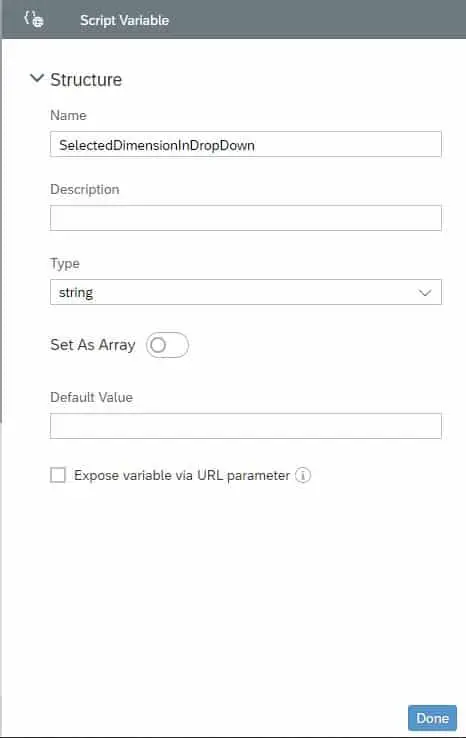
Create four more Script Variables:
SelectedDimensionInDropDown, Type: string.
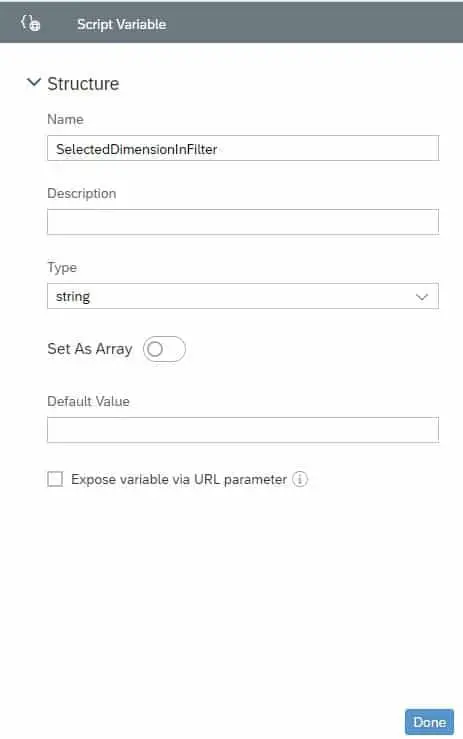
SelectedDimensionInFilter, Type: string.
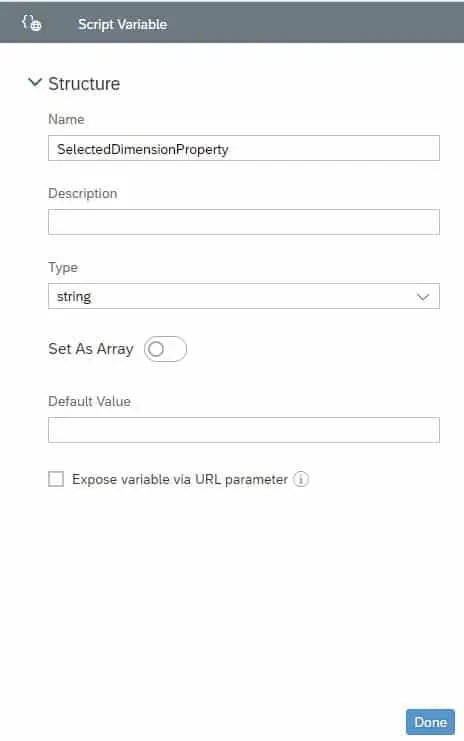
SelectedDimensionProperty, Type: string.
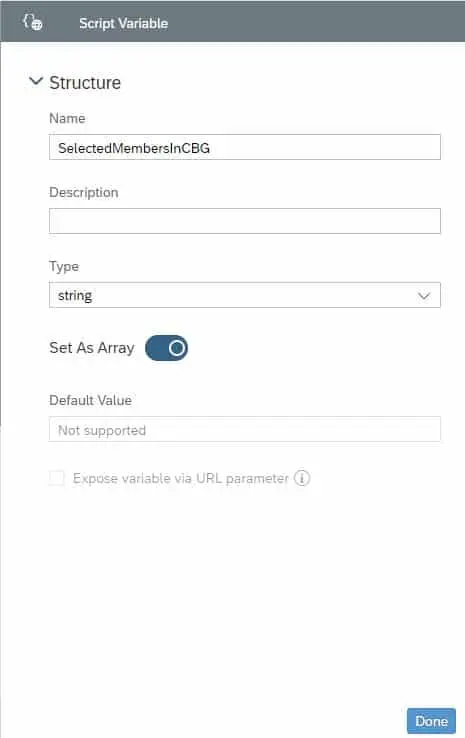
SelectedMembersInCBG, Type: string.
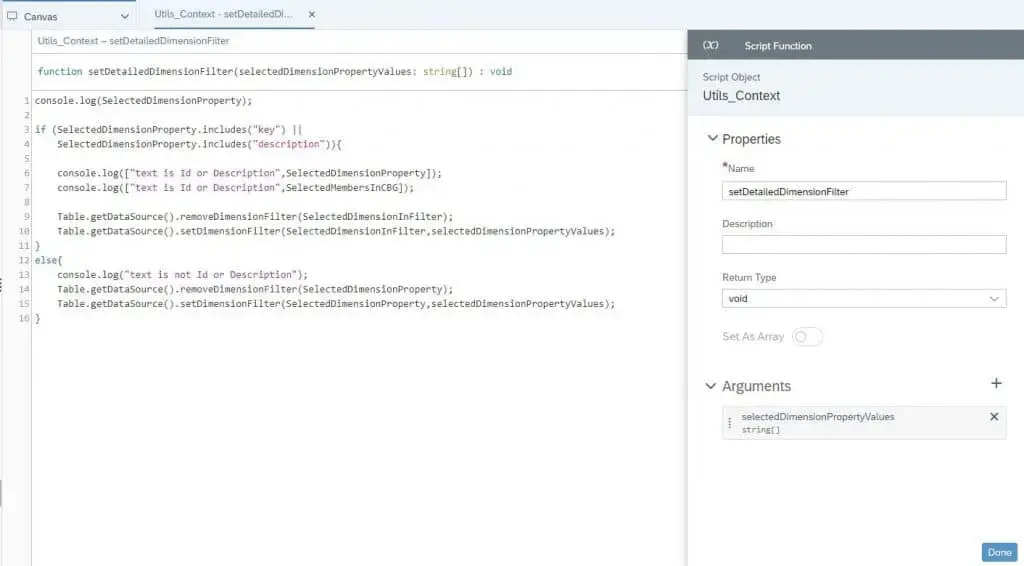
Create a Script Objects and call it utils_Context, and add three script functions:

setDetailedDimensionFilter:
Return Type: void.
Arguments: selectedDimensionPropertyValues, Type string, and set as an array.
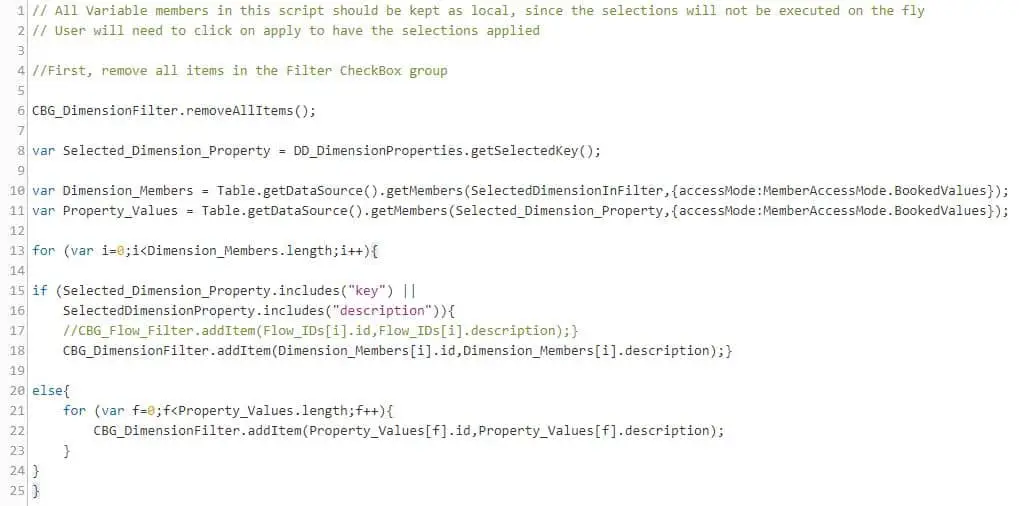
And add the below code to its fx.
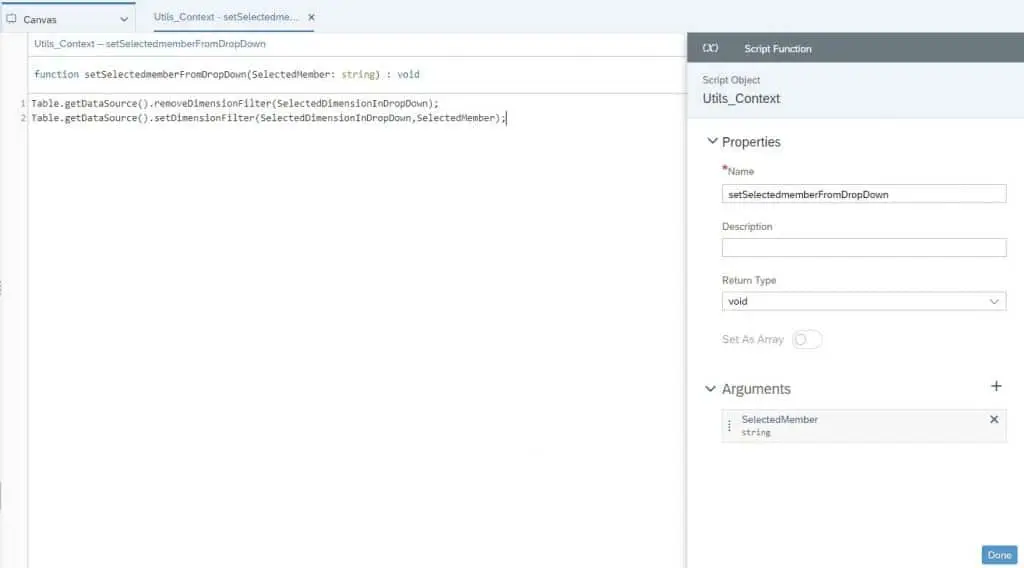
setSelectedMemberFromDropDown:
Return Type: void.
Arguments: SelectedMember, Type string.
And add the below code to its fx.
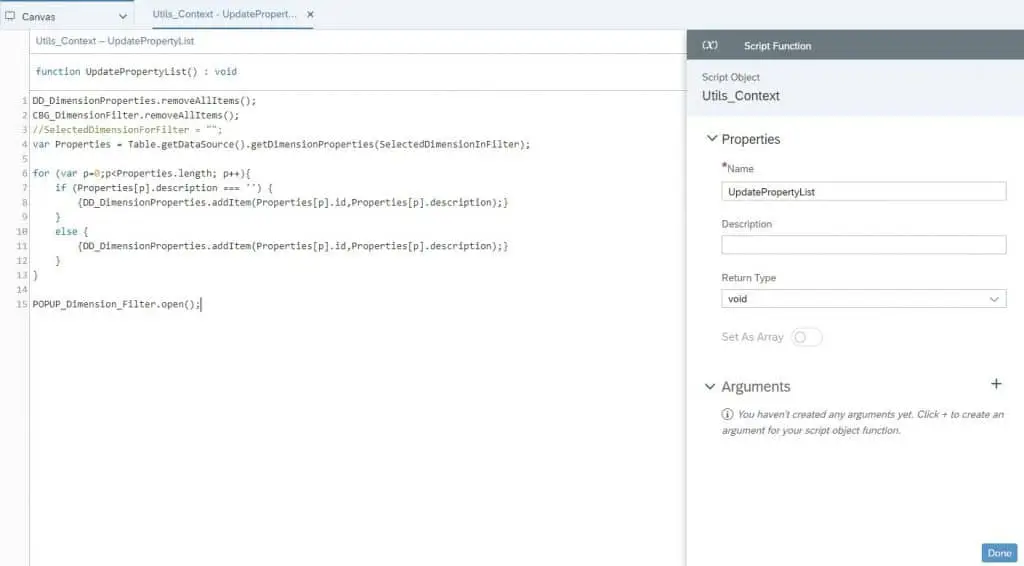
UpdatePropertyList: Return Type: void.
And add the below code to its fx.
Now you can filter your dimension per property.